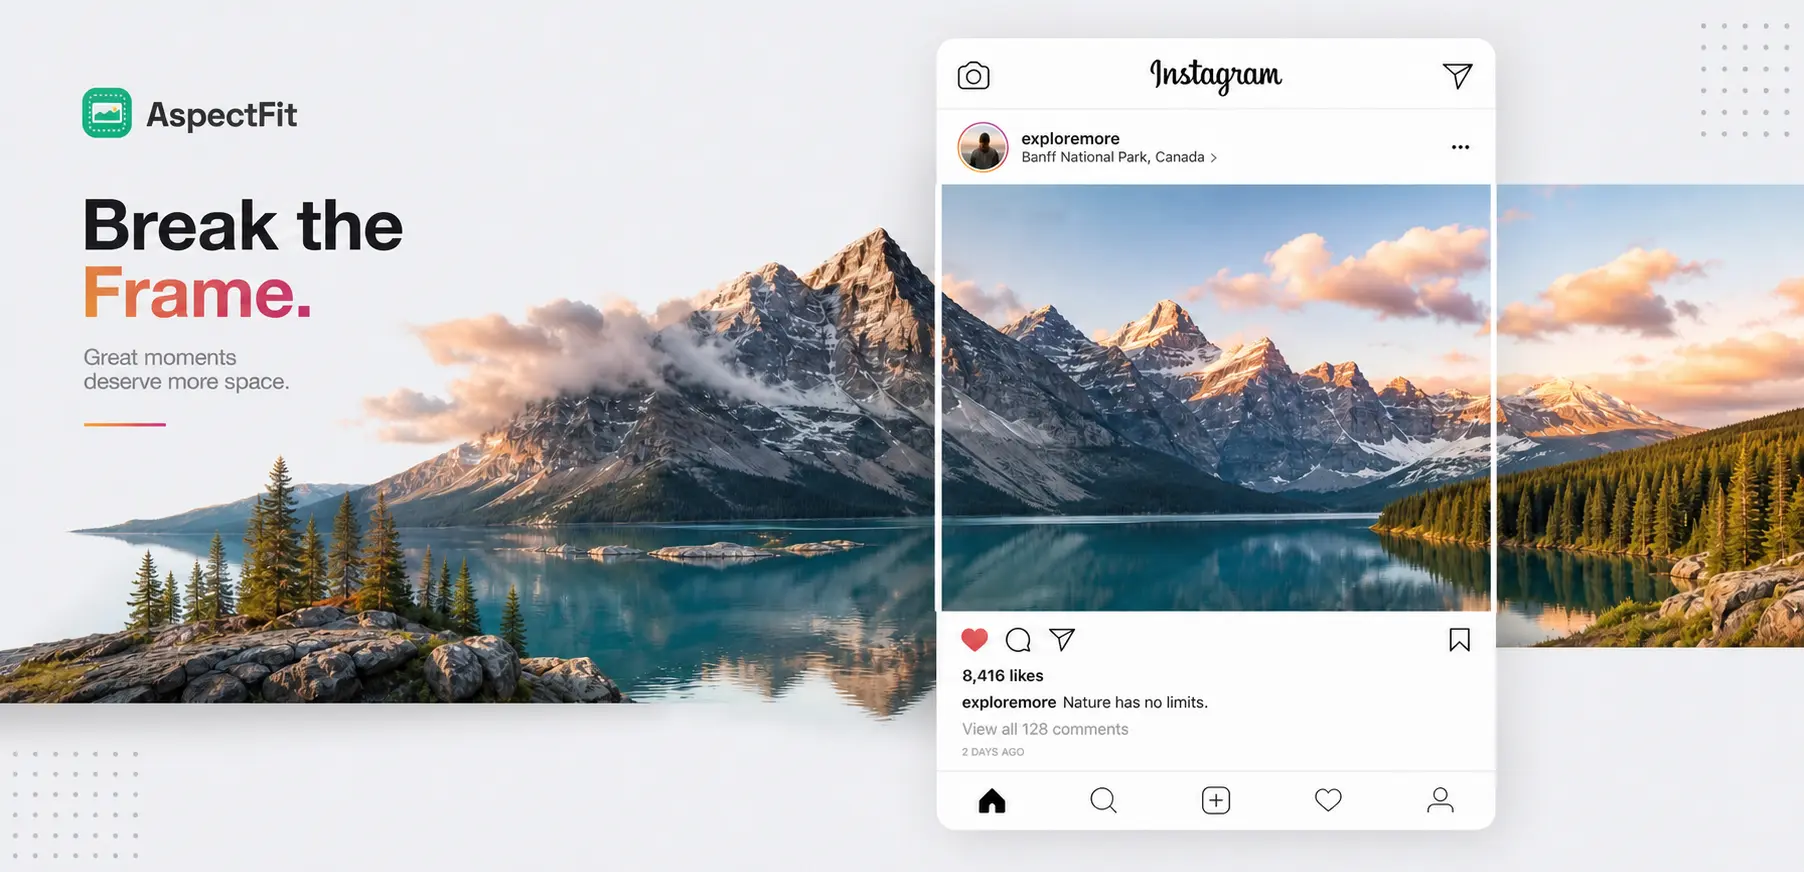
Instagram caps feed posts at 1.91:1. A stitched panorama at 2:1, a phone panorama at 3:1, a drone sweep at 4:1 - all of them exceed it, and the platform crops silently to fit.
There are two honest ways out. Pad the panorama into a single post and accept that it becomes a strip inside a lot of empty space, or split it across two carousel slides so the swipe does the panning. This article is about the second route: when it's the better choice, how much of the frame each slide format actually recovers, and how to produce the slices without cropping.
TL;DR: Splitting a panorama across two square slides gives it a 2:1 canvas - double the vertical coverage of the same photo padded into a single square post. A 2:1 stitch fills that canvas exactly, with zero padding. For wider stitches, a third slide extends the canvas to 3:1. AspectFit fits the panorama to the canvas and cuts it into 2 or 3 panels, in-browser.
On this page:
- Split or pad: which one your panorama needs
- How much frame each format recovers
- Matching your panorama to a slide format
- How to split a panorama with AspectFit
- Panorama sources and what to expect
- Where to place the cut
- Resolution matters more here
- Frequently asked questions
Split or pad: which one your panorama needs
Both approaches keep the full composition. They differ in what the viewer experiences and how much of the frame is photograph rather than background.
| Pad into one post | Split into two slides | |
|---|---|---|
| Full composition preserved | Yes | Yes |
| Visible immediately | Yes | Slide 1 only |
| Panorama's share of the frame | Low on wide sources | Roughly double |
| Requires the viewer to act | No | Yes, a swipe |
| Reads as wide | Yes, all at once | Yes, sequentially |
| Best for | 1.91:1 and narrower, or when the wide sweep is the point | 2:1 to 3:1 stitches with detail worth seeing |
Padding is the better answer when the panorama's impact depends on taking it in at once - a symmetrical reflection, a skyline where the two ends echo each other. That route is covered in how to post panorama photos on Instagram without cropping. Splitting is better when there is detail across the width that gets lost at strip size, which covers most landscape and cityscape work.
The why Instagram crops photos guide covers the underlying ratio limits if you want the platform-side reasoning.
How much frame each format recovers
This is the argument for splitting, and it's arithmetic rather than opinion.
Two slides side by side form a canvas twice the width of one slide. Two square slides make a 2:1 canvas. Two 4:5 slides make 1.6:1. Two 3:4 slides make 1.5:1. A wide photograph fitted to a wide canvas keeps more of its height.
Here is the vertical coverage a panorama achieves on square slides, against the same photo padded into a single square post:
| Panorama ratio | Single 1:1 post | Two square slides | Three square slides | Result |
|---|---|---|---|---|
| 2:1 stitched | 50% of frame height | 100% | 100% (not needed) | Already fills edge to edge on two slides |
| 2.35:1 cinematic | 43% | 85% | 100% | Two slides leave thin bands; three trade those for side padding |
| 3:1 phone panorama | 33% | 67% | 100% | Three slides fill edge to edge; two leave visible padding |
| 4:1 long stitch | 25% | 50% | 75% | Padding remains even at three slides |
The consistent doubling (and tripling) is not a coincidence. A panorama wider than its canvas is limited by width, so it fills the width and takes whatever height that leaves. Widen the canvas and the height it lands at grows with it. The doubling stops at 100%: once the canvas is wider than the panorama, the photo is limited by height instead, and a further slide adds side padding rather than height. That is why a 2.35:1 cinematic crop reaches full height on three square slides but still shows background at the left and right edges.
The 2:1 case is the clean one on two slides: source ratio and combined canvas are identical, so the photograph fills both slides completely with no background showing anywhere. A 3:1 stitch hits the same clean case on three slides.
Beyond 3:1 a third slide keeps closing the gap, but padding remains part of the result. No layout turns a 4:1 stitch into a full-bleed carousel, because 4:1 is wider than even the 3:1 canvas three square slides can form - a fourth panel would be needed to fill it edge to edge, and Split Canvas tops out at three.
Matching your panorama to a slide format
| Your panorama | Use | Why |
|---|---|---|
| 1.5:1 to 1.6:1 | 3:4 slides, 2 panels | Combined canvas is 1.5:1, an exact or near-exact fit |
| 1.6:1 to 1.8:1 | 4:5 slides, 2 panels | Combined canvas is 1.6:1, and 4:5 gives the most feed height |
| 1.9:1 to 2.7:1 | 1:1 slides, 2 panels | Combined canvas is 2:1, the widest canvas two slides can form |
| 2.7:1 to 3.2:1 | 1:1 slides, 3 panels | Combined canvas is 3:1 - the third panel closes most of the padding two slides would leave |
| Wider than 3.2:1 | 1:1 slides, 3 panels | Widest option available; expect visible padding |
Note that 4:5 slides give each individual slide more vertical feed space than square ones, which is why 4:5 is the general recommendation in the Instagram carousel image sizes guide. For panoramas that trade-off inverts: the wider combined canvas of square slides recovers more of the photograph, and recovering the photograph is the point.
Story and Reels formats are 9:16 and don't apply. Doubling a vertical canvas produces a landscape canvas, which undoes the format.
How to split a panorama with AspectFit
Step 1. Open AspectFit and drop the panorama in. Everything runs locally through HTML5 Canvas, so a large stitched TIFF or JPEG never leaves the machine.
Step 2. In the Aspect tab, select Post Square (1:1) for anything 1.9:1 or wider. Use Post Portrait (4:5) if your panorama is closer to 1.6:1.
Step 3. Turn on the Split toggle on the image card and pick 2 or 3 panels based on the table above. The preview switches to the multi-slide canvas with a seam line for each cut.
Step 4. Set the background. For panoramas, blurred is usually right - it carries the sky and terrain colors into the padding instead of interrupting them with a flat band. Black suits night and cinematic work. The background is drawn across the full canvas before the cut, so it stays continuous across every seam.
Step 5. Open Edit Split Layout. A new split opens already scaled to fill the canvas width automatically. Drag the panorama to place each seam over a quiet part of the frame - open sky, water, an unbroken stretch - and use the scale slider (10% up to at least panels × 100%) if you want to push past the fitted size and let the edges clip. Fit Width returns to the automatic fit. The preview matches the export exactly.
Step 6. Download. One file per panel arrives, bundled as a ZIP and suffixed -left/-right for 2 panels or -1/-2/-3 for 3.
Step 7. In Instagram, select the left file first. Choose the crop option that shows the whole frame, and skip filters - Instagram applies them per slide, which produces a brightness step at the seam.
Panorama sources and what to expect
| Source | Typical ratio | What to expect on two square slides |
|---|---|---|
| Phone panorama mode | 3:1 to 4:1 | Recovers roughly two-thirds of the height at 3:1. These files are long and thin in pixel terms, so check the vertical resolution first |
| Stitched multi-frame | 2:1 to 3:1 | A 2:1 stitch is the best-case input for a two-slide carousel |
| Phone ultra-wide lens | around 2:1 | Good candidate, close to a full-bleed fit |
| Drone sweeps | 3:1 and beyond | Splitting helps, padding remains |
| 360° equirectangular | 2:1 | Fills both slides completely |
| Cropped 16:9 frames | 1.78:1 | Not really panoramas; 4:5 slides suit them better |
Equirectangular files are the quiet win here. Instagram has no interactive 360° viewer for photos, so a swipe carousel is the closest thing to a pan the platform will give you, and standard equirectangular output happens to be exactly 2:1.
For 16:9 frames, the single-post route is usually simpler. See how to post landscape photos without cropping.
Where to place the cut
The cut lands at the center of the canvas. You control where it falls in the scene by dragging the panorama, not by moving the cut.
Panoramas make this easier than ordinary photographs, because a wide scene almost always has somewhere quiet to hide a boundary. Aim the center line at open sky, water, a stretch of field, or unbroken road. Keep it off a lone tree, a boat, a lighthouse, or anything else the eye reads as a single object; a bisected subject is what makes a viewer notice the slide boundary at all.
There is one useful exception. A strong vertical already in the scene, such as a mast or the corner of a building, can absorb the seam if the cut lands directly on it. Near it is worse than on it.
Resolution matters more here
Panoramas are the case where source resolution actually bites, because the combined canvas is twice as wide as a normal export and a stitched panorama is often shorter in pixel height than a single frame from the same camera.
A phone panorama at 12000 × 3000 px has plenty of width and only 3000 px of height. Fitted to a 2:1 canvas it fills the width and sits at 3000 px tall inside a canvas that wants more. It works, but the vertical detail is the constraint, not the horizontal.
AspectFit derives export dimensions from the source file instead of capping at 1080 px, so whatever height the original has is what the slides get. Check the pixel height of a stitch before splitting. Anything under about 1500 px tall will look soft once Instagram re-encodes it.
For tools that process at source resolution without a server round trip, see the no-upload resizer comparison.
Frequently asked questions
How do I post a panorama on Instagram as a carousel?
Fit the panorama to a canvas 2× or 3× the width of one slide, cut it into equal panels, and upload left to right. Two square slides form a 2:1 canvas, which a standard stitched panorama fills exactly; three square slides form a 3:1 canvas for wider stitches. AspectFit's Split toggle does the fit and the cut in-browser.
What's the best slide format for a panorama carousel?
Square (1:1) for anything 1.9:1 or wider, because two square slides form a 2:1 canvas - the widest a two-slide carousel can produce. For sources beyond about 2.7:1, a third square slide extends that to a 3:1 canvas. Use 4:5 slides for panoramas closer to 1.6:1, where the extra feed height is worth more than the extra width.
Does splitting a panorama crop it?
Not with a fit-and-split tool. The panorama is scaled to fit inside the combined canvas and any leftover space is filled with a background. Generic grid splitters work differently - they crop the source to the target ratio before slicing, which removes the top and bottom.
Can I split a 4:1 panorama into two slides?
Yes, and it recovers about half the frame height on square slides against a quarter for a single square post. A third slide takes that to about 75%, since 4:1 is wider than even the 3:1 canvas three slides can form. Full-bleed would need a fourth panel, which is beyond what Split Canvas offers.
Should I post a panorama as a carousel or a single padded post?
Split it when there is detail across the width worth seeing at full size. Pad it into one post when the composition depends on being taken in at once, or when the panorama is 1.91:1 or narrower and already fits Instagram's landscape limit without help.
Summary
Splitting a panorama gives it a canvas up to three times as wide as a single post, and that extra width is what recovers the frame. A 2:1 stitch fills two square slides with no padding; a 3:1 stitch fills three. Wider sources still keep more vertical coverage than a single padded post, just not a full-bleed one. Anything beyond 3:1 will show background even at three slides, and that's a property of the geometry rather than the tool.
For the general method and slide dimensions, see how to split a photo into an Instagram carousel.
AspectFit fits and splits panoramas client-side - no upload, no crop, free to use.
Sources: Instagram Help Center, post sizing; Socialinsider Instagram benchmarks, 2026. Accessed August 2026.