Every editing app buries the settings that matter under a different menu with different names, and most of the defaults are wrong for Instagram.
This is the exact configuration for each one. Copy the values, save it as a preset, stop thinking about it.
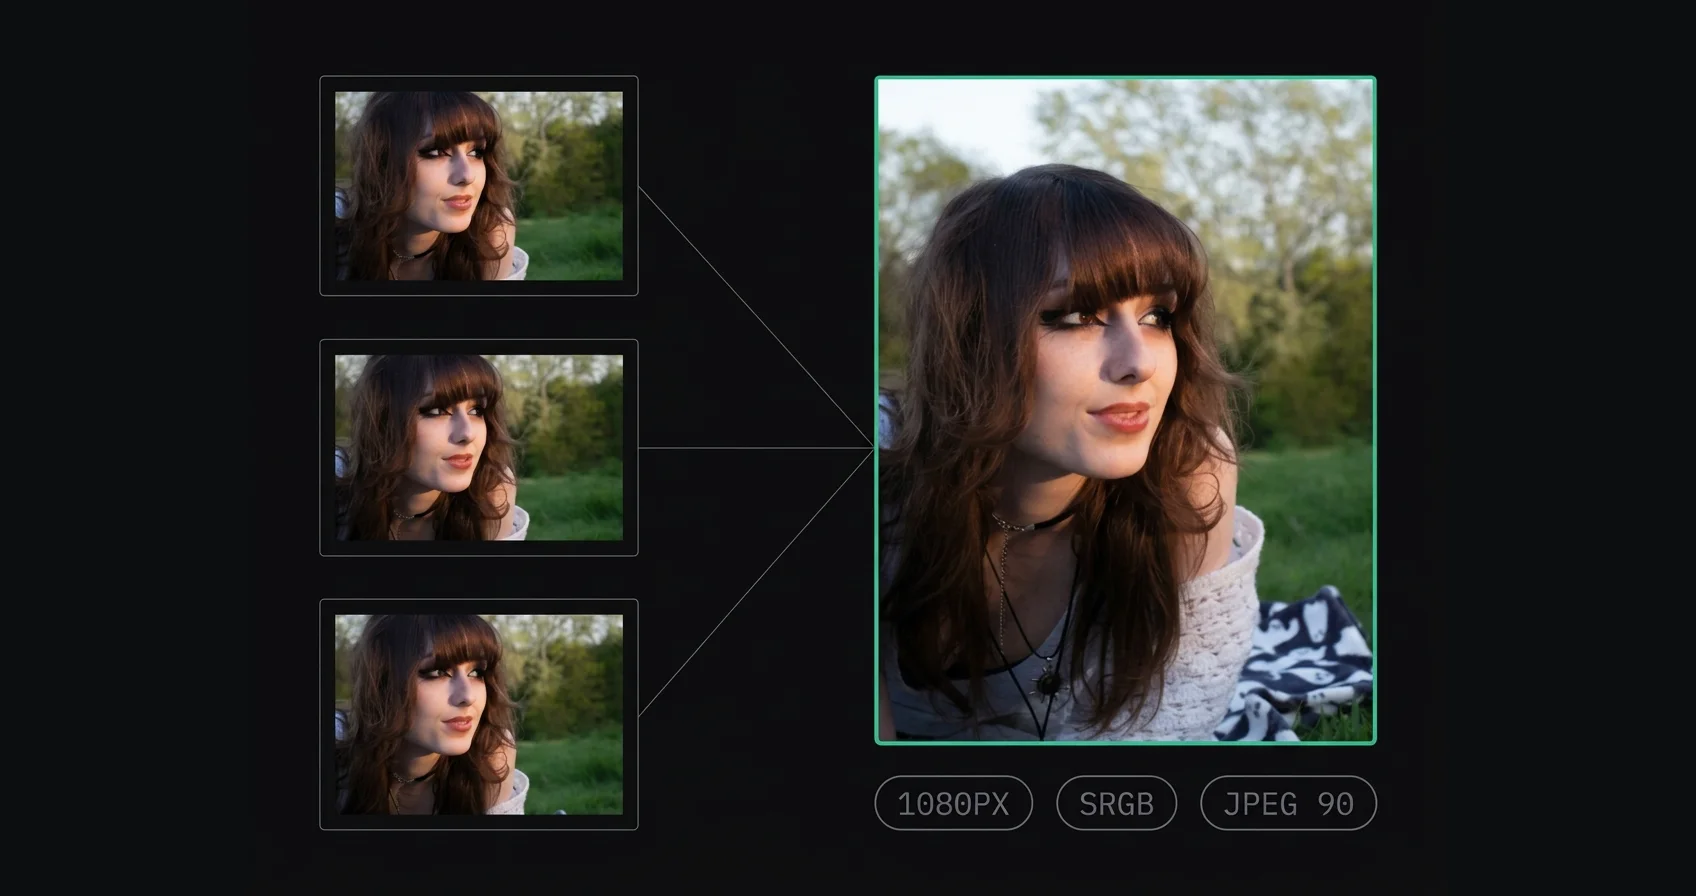
TL;DR: 1080 pixels wide, sRGB colour space, JPEG at 85–95%, with output sharpening applied after the resize. Every app below is just a different route to those four values.
On this page:
- The four settings that matter
- Lightroom Classic
- Lightroom mobile and Lightroom CC
- Photoshop
- Capture One
- Phone apps
- Exporting straight to Instagram size in the browser
- Settings that don't matter (but everyone asks)
- Frequently asked questions
The four settings that matter
| Setting | Value | Why |
|---|---|---|
| Pixel width | 1080 | Instagram publishes feed images at 1080px, so matching it means the platform never resizes your file |
| Colour space | sRGB | Instagram maps everything to sRGB; supplying anything else means a conversion that flattens colour |
| Format & quality | JPEG, 85–95% | Instagram stores JPEG regardless. Below 80 you stack your own artifacts onto its compression |
| Sharpening | After the resize, light | Resampling softens edges; sharpening before a resize scales up halos instead |
Height depends on your ratio: 1080 × 1350 for 4:5, 1080 × 1440 for 3:4, 1080 × 1080 for square, 1080 × 566 for 1.91:1 landscape. Stories and Reels are 1080 × 1920.
Everything else in your export dialog is noise for this purpose. The reasoning behind these four is in how to upload the highest quality photos to Instagram.
Lightroom Classic
File → Export. Set these panels and save it as a user preset called "Instagram 4:5" so you never do it twice.
| Panel | Setting | Value |
|---|---|---|
| File Settings | Image Format | JPEG |
| File Settings | Quality | 90 |
| File Settings | Color Space | sRGB |
| File Settings | Limit File Size To | Unchecked |
| Image Sizing | Resize to Fit | Width & Height |
| Image Sizing | W × H | 1080 × 1350 |
| Image Sizing | Don't Enlarge | Checked |
| Image Sizing | Resolution | 72 ppi (irrelevant, see below) |
| Output Sharpening | Sharpen For | Screen |
| Output Sharpening | Amount | Standard |
| Metadata | Include | Copyright & Contact Info Only |
| Watermarking | Watermark | Unchecked |
Two notes on this.
"Don't Enlarge" matters. Without it, a photo smaller than 1080px gets upscaled, which invents detail that was never captured. Tick it and small files export at their own size, which is what you want.
Output Sharpening → Screen / Standard is doing real work. Lightroom applies it after the resize, in the right order, at a sensible strength. This is the single best reason to resize in Lightroom rather than letting Instagram do it — you get the sharpening pass Instagram's pipeline doesn't have. Don't set it to High unless you've looked at the result on a phone; High plus Instagram's compression tips into crunchy territory quickly.
Make a second preset with 1080 × 1440 for 3:4 and a third at 1080 × 1080 for square. Takes a minute, saves you forever.
Lightroom mobile and Lightroom CC
Share → Export As.
| Setting | Value |
|---|---|
| File Type | JPG |
| Quality | 90 |
| Color Space | sRGB |
| Dimensions | Custom → Long Edge 1350 px (for 4:5) |
| Sharpening | Screen, Standard |
| Include Metadata | Copyright only |
The mobile app asks for a single edge measurement rather than both dimensions, which trips people up. Set the long edge: 1350 for 4:5, 1440 for 3:4, 1080 for square, 1920 for Stories. The short edge follows from your crop.
Check your crop is already at the target ratio before exporting, otherwise the long-edge number won't produce 1080 on the other axis.
Photoshop
Photoshop needs the steps in an explicit order, because it won't sequence them for you.
- Image → Image Size. Set Width to 1080 pixels, leave the chain link on to keep the ratio. Set Resample to Bicubic Sharper (reduction) — it's designed for downscaling and includes a mild sharpening pass.
- Edit → Convert to Profile. Destination Space: sRGB IEC61966-2.1. Intent: Relative Colorimetric.
- Filter → Sharpen → Smart Sharpen, if you want more than Bicubic Sharper gave you. Amount around 60–80%, Radius 0.3–0.5 px, Reduce Noise 10%. This is deliberately gentle. You're compensating for compression softening, not rescuing a soft photo.
- File → Export → Export As. Format JPG, Quality 90, and tick Convert to sRGB. Leave Metadata at Copyright and Contact Info.
The order is the point. Resize, then convert, then sharpen, then export. Sharpening before step 1 means the resample scatters the detail you just created and scales your halos with it.
The legacy File → Export → Save for Web (Legacy) dialog also works and some people prefer its preview. Set Quality 90, tick Convert to sRGB, tick Embed Color Profile.
Capture One
Create a Process Recipe so it's one click afterwards.
| Tab | Setting | Value |
|---|---|---|
| Basic | Format | JPEG |
| Basic | Quality | 90 |
| Basic | Color Profile | sRGB IEC61966-2.1 |
| Basic | Scale | Fixed → Width 1080 px |
| Adjustments | Output Sharpening | Enabled, for Screen |
| Metadata | Copyright | Included |
Capture One's Scale → Fixed Width won't upscale smaller files by default, which is the behaviour you want.
Phone apps
If you shoot and edit entirely on a phone, your options are narrower, because the stock photo apps mostly don't expose a resize.
iOS Photos has no export size control at all. Editing there and posting directly means Instagram receives the full-resolution file and does its own downscale. Fine for casual posts, not ideal for work you care about.
Snapseed — Export → Export, then the settings gear: Format JPG, Quality 95, Image sizing → Custom → 1080 px. Free, and one of the few phone apps that lets you set an exact pixel width.
Google Photos doesn't offer a resize on export either. Same limitation as iOS Photos.
VSCO exports at full resolution by default; there's no width control in the standard export.
The practical phone workflow, if you don't want a desktop in the loop: edit wherever you like, then run the file through something that does the resize before it reaches Instagram.
Exporting straight to Instagram size in the browser
AspectFit covers the resize and the ratio step in one pass, on desktop or phone, without installing anything.
Pick your aspect ratio, then set the export size to Instagram optimised. It renders at 1080 pixels wide at the ratio you chose — 1080 × 1350 for 4:5 portrait, 1080 × 1440 for 3:4, 1080 × 1080 for square. Photos already smaller than 1080px are left at their own size rather than upscaled. It encodes at maximum JPEG quality, so nothing is lost to compression on our side before Instagram gets it, and at 1080px the file is small regardless.
It also handles the case where your photo isn't a legal Instagram ratio to begin with, by padding it to fit rather than cropping — the problem covered in why Instagram crops your photos.
What it doesn't do is sharpen. If you want output sharpening, apply it in your editor at 1080px, or accept the small softness that comes with any resize. For other tools that resize without uploading your files, see the best free Instagram resizers.
Everything runs in your browser. No upload, no account.
Settings that don't matter (but everyone asks)
DPI / PPI. Set it to 72, 300, or 1 — it makes no difference to a screen image. Resolution is metadata describing intended print size. Instagram displays pixels. The 300 DPI advice you'll find in export guides is a print convention that got copy-pasted into screen workflows and never questioned.
Metadata stripping. Instagram removes most of it on upload anyway. Keep copyright if you want it in your own archive copy.
Progressive vs baseline JPEG. Instagram re-encodes the file, so your choice is discarded.
File size targets. You'll see advice about staying under 1MB. At 1080px wide you'll usually land there without trying, so it's not a setting to chase. Don't crank quality down to hit an arbitrary number — the pixel dimensions did the real work.
Colour profile embedding. Embed sRGB if the option exists. It's already sRGB by then, so this is belt-and-braces rather than critical.
Frequently asked questions
What are the best export settings for Instagram?
1080 pixels wide at your target ratio, sRGB colour space, JPEG at 85–95% quality, with output sharpening applied after the resize. Height follows the ratio: 1350 for 4:5, 1440 for 3:4, 1080 for square.
What quality should I export JPEGs for Instagram?
85–95%. Below 80 your own compression artifacts stack on top of Instagram's. Above 95 the file grows with no visible benefit at 1080px. Once you're exporting at the correct pixel width this setting has surprisingly little effect, because a 1.4-megapixel image is small at any sensible quality.
What DPI should Instagram photos be?
DPI is irrelevant for Instagram. It's print metadata and has no effect on how a screen displays your image. Only the pixel dimensions matter. Leave it at whatever your app defaults to.
Should I export in sRGB or Adobe RGB for Instagram?
sRGB, always. Instagram converts everything to sRGB on upload, and an Adobe RGB or Display P3 file goes through a conversion that visibly reduces saturation — reds, oranges and skin tones suffer most.
Do I need output sharpening if Instagram compresses anyway?
Yes, and it's one of the better reasons to export from Lightroom or Capture One rather than uploading unprocessed. Resizing softens edges, and Instagram's own downscale has no sharpening pass afterwards. A standard screen-sharpening setting applied after your resize compensates for that.
Can I use these settings for Stories and Reels?
Same colour space, format and quality. Change the dimensions to 1080 × 1920 and keep the sharpening light, since Stories compress harder than feed posts.
Summary
Four values, every app: 1080 pixels wide, sRGB, JPEG at 85–95%, sharpened after the resize rather than before.
Save it as a preset in whatever you edit in — Lightroom's Export preset, Capture One's Process Recipe, a Photoshop action — and the decision disappears from your workflow permanently.
If you'd rather not build presets, AspectFit does the resize and ratio step in the browser with an Instagram-optimised export size, no upload and no account.