Instagram compresses every photo you upload. You can't turn that off, and no setting in the app will give you back what it takes.
But here's the part almost nobody explains: Instagram's compression is roughly fixed. What varies — and what decides whether your photo looks crisp or mushy — is how many destructive steps happen before that compression runs. Most of those steps are yours.
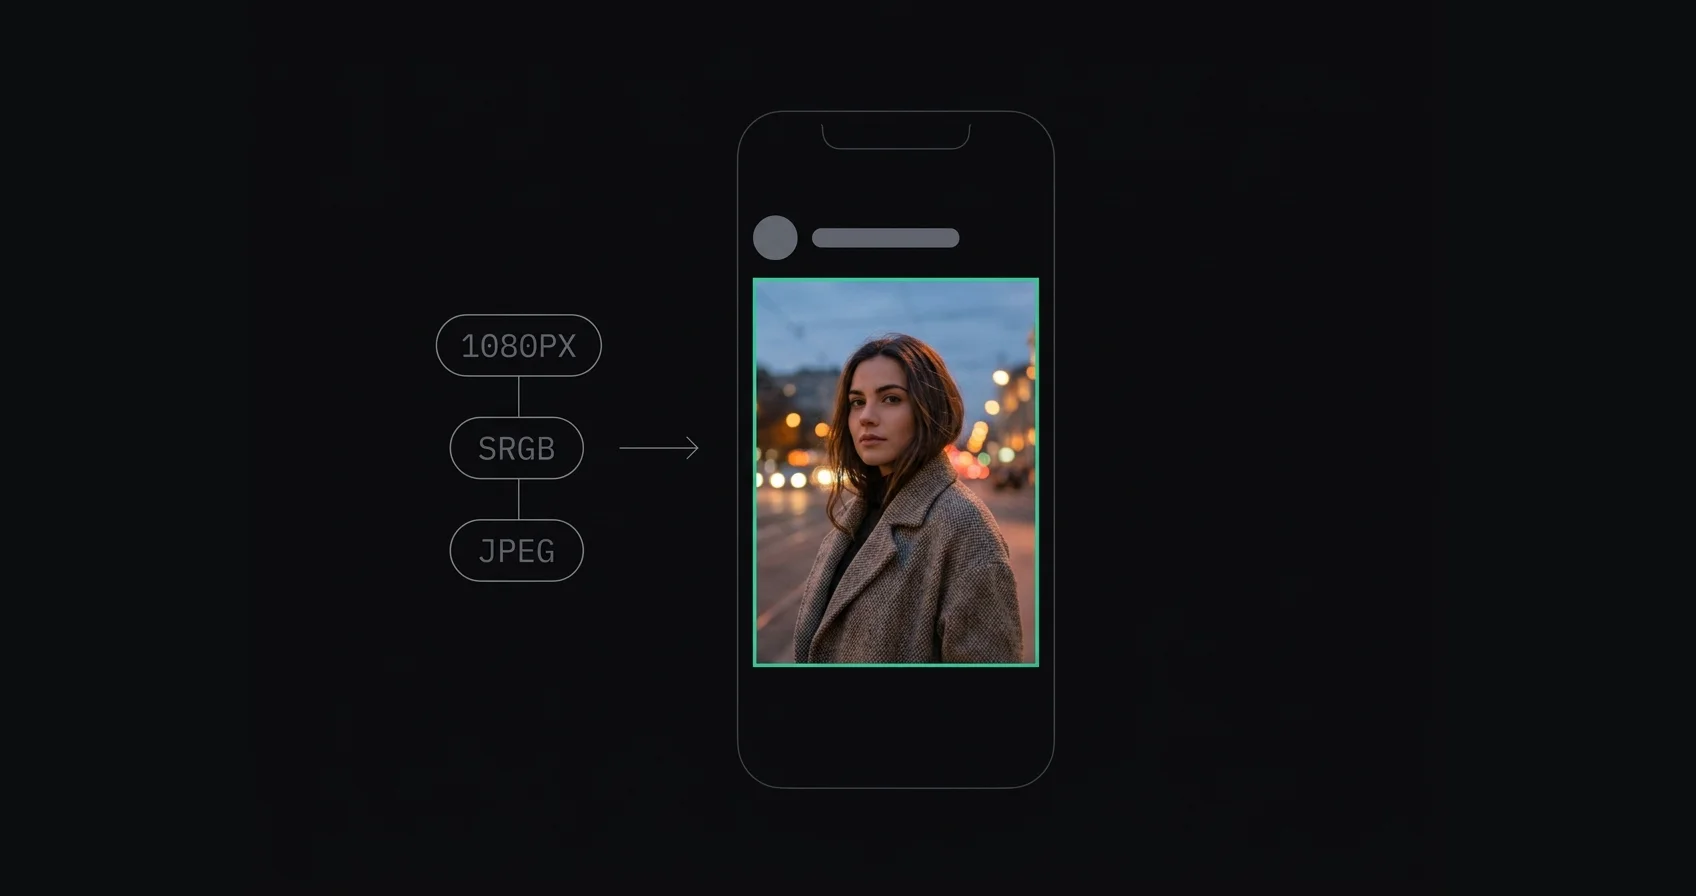
TL;DR: Upload a photo that's already 1080 pixels wide, in sRGB, as a JPEG, sharpened after resizing. That way Instagram only recompresses it once. Upload a 6000px file and Instagram downscales it and recompresses it, which is two lossy passes instead of one — and the downscale is the one that costs you detail.
On this page:
- The one idea that explains everything
- The chain, in order
- Step 1: Resize to 1080 pixels wide
- Step 2: Convert to sRGB
- Step 3: Export as JPEG
- Step 4: Sharpen last, and lightly
- Step 5: Turn on high quality uploads
- Step 6: Upload without letting anything else touch the file
- What doesn't help
- Frequently asked questions
The one idea that explains everything
Every "Instagram ruined my photo" post online treats the platform as the villain. It isn't quite that simple.
Instagram publishes feed images at 1080 pixels wide. That number has held steady through the 2025 grid changes and is still the target in 2026. When your upload is wider than 1080px, Instagram has to do two things to it:
- Downscale it to 1080px wide
- Recompress it to its own JPEG settings
Both steps throw away data. The second one is unavoidable — everyone's photo gets recompressed, and Instagram's encoder sits somewhere around JPEG quality 70–75, which is gentler than its reputation suggests. The first step is entirely avoidable, and it's the one doing the visible damage.
Instagram's downscaler is built for speed across billions of uploads, not for your photo. It's a generic resample with no sharpening pass afterwards. Fine texture — fabric weave, foliage, hair, brickwork — goes soft. Then the compressor runs on that already-softened image and has to spend its bits describing mush.
Hand Instagram a file that's already 1080px wide and step one simply doesn't happen. One lossy pass instead of two, and the remaining one is barely visible at phone size.
That's the whole game. Everything below is detail. For a fuller breakdown of what the platform does to your file and which symptoms map to which cause, see why Instagram ruins your photo quality.
The chain, in order
The order isn't arbitrary. Each step assumes the one before it has already happened, and doing them out of sequence undoes the benefit.
| # | Step | Why it's in this position |
|---|---|---|
| 1 | Resize to 1080px wide | Every later step should operate on final pixels |
| 2 | Convert to sRGB | Colour conversion before encoding, not after |
| 3 | Export as JPEG | The format Instagram is going to use anyway |
| 4 | Sharpen | Must come after the resize, or it amplifies halos |
| 5 | Enable high quality uploads | App-side, one time |
| 6 | Upload on a good connection | The app can fall back to a smaller file |
Steps 1 through 4 happen in your editor. Steps 5 and 6 happen on your phone.
Step 1: Resize to 1080 pixels wide
This is the step that matters. If you only do one thing from this article, do this one.
Export at exactly 1080 pixels wide, with the height set by your aspect ratio:
| Ratio | Dimensions | Use |
|---|---|---|
| 4:5 | 1080 × 1350 | Portrait, best feed visibility |
| 3:4 | 1080 × 1440 | Natively supported since 2025, tallest feed post |
| 1:1 | 1080 × 1080 | Square |
| 1.91:1 | 1080 × 566 | Landscape, widest Instagram accepts |
For the full set of dimensions across Stories, Reels and carousels, see the Instagram image sizes 2026 cheat sheet.
Two things that trip people up:
Don't upscale to reach 1080. If your photo is 800px wide, leave it. Enlarging invents detail that was never captured, and it hands the compressor more pixels to chew through for no gain. A genuinely small photo posted at its own size beats the same photo stretched.
Your aspect ratio has to be legal too. Instagram caps feed posts at 4:5 portrait and 1.91:1 landscape. A photo outside that range gets cropped regardless of how carefully you sized it — that's a separate failure with a separate fix, covered in why Instagram crops your photos.
If your photo doesn't fit one of Instagram's ratios, padding it to fit is usually better than cropping. AspectFit does the padding and the 1080px resize in one pass, in your browser, without uploading your photo anywhere. Its Instagram-optimised export targets 1080px wide at the ratio you pick, and it won't upscale a photo that's already smaller.
Step 2: Convert to sRGB
Instagram displays everything as sRGB. If your file is tagged Adobe RGB, ProPhoto RGB, or Display P3, the colours get remapped on the way in — and the remap is where saturation goes to die.
The classic symptom: reds and oranges lose their punch, skin tones go slightly grey, and the whole image reads flatter than it did on your screen. Photographers on Mac laptops hit this constantly, because those displays are P3 and everything looks gorgeous locally right up until it doesn't.
Set the colour space to sRGB in your export dialog. In Lightroom Classic it's under File → Export → File Settings → Color Space. In Lightroom mobile it's Share → Export As → Color Space. In Photoshop, Export As has a "Convert to sRGB" checkbox. Full per-app settings are in the right export settings for Instagram.
Do this even if your monitor is wide-gamut. Especially then.
Step 3: Export as JPEG
Instagram is going to store your photo as a JPEG no matter what you upload, so give it a JPEG.
Quality setting: 85–95% is the range worth using. Below 80 you start seeing your own artifacts stack on top of Instagram's. Above 95 the file gets meaningfully larger with no visible benefit at 1080px.
Honestly though, once you've done step 1 this setting barely matters. A 1080 × 1350 image is 1.4 megapixels. At that size the difference between a 90% JPEG and a 100% JPEG is a few hundred kilobytes and nothing your eye will find after Instagram recompresses it. The quality slider is a rounding error next to the pixel dimensions. Don't agonise over it.
PNG is fine to upload but pointless for photographs — Instagram converts it to JPEG anyway, and you've spent upload bandwidth on a format that gains you nothing. PNG only makes sense for graphics with flat colour and hard text edges.
HEIC uploads work from iPhones and get converted server-side. It's one more conversion in the chain, so exporting a JPEG yourself is the more predictable path.
Step 4: Sharpen last, and lightly
Compression softens fine edges. Sharpening slightly before you upload pre-compensates for that, which is why the technique circulates so widely among photographers.
Two rules make it work instead of backfire.
Sharpen after resizing, never before. Resampling an image scatters the edge detail your sharpening created, and any halos you introduced get scaled along with everything else. Then Instagram's encoder reads those halos as high-frequency detail worth preserving and spends bitrate on your mistakes. Resize to 1080px first, then sharpen the final pixels.
Use less than you think. Sharpening you apply is baked into the file before Instagram compresses it, so over-sharpening doesn't get smoothed away — it gets amplified. If you've already got output sharpening in Lightroom, plus in-camera sharpening, plus a slider nudge in Instagram's editor, you're stacking three passes. Skies pick up banding. Hard architectural edges pick up white fringes.
You'll see advice recommending Instagram's in-app sharpen slider at +20 to +40. It's real and it's widely used, but treat it as folk wisdom rather than a tested number — nobody has published a controlled test, and the guides that circulate suggest anywhere from 25 to 50. Start low, look at it on a phone screen, and remember what it can and can't do. It recovers a few percent of apparent sharpness. It cannot rescue detail that a bad downscale already destroyed. It's a garnish, not a fix.
Step 5: Turn on high quality uploads
Instagram has a setting that reduces how aggressively it compresses. It's off by default.
Look under Settings → Data usage and media quality, or Settings → Account → Data Usage on older builds. The exact path moves around between app versions and between iOS and Android, so search the settings screen for "quality" rather than following a fixed menu route from any article, including this one.
Be realistic about what it does. The clearest documented effect is on video and Reels, and reports on whether it changes photo output are mixed. It costs you nothing but upload bandwidth, so turn it on — just don't expect it to compensate for a 6000px upload. It won't.
Step 6: Upload without letting anything else touch the file
A few practical things at the last mile:
Upload over decent Wi-Fi. On a weak connection some app versions will fall back to sending a smaller file rather than failing the post.
Transfer your edited file to your phone in a way that doesn't re-encode it. AirDrop and a cable are safe. Most messaging apps are not — sending yourself a photo through a chat app usually recompresses it, which is an entire extra lossy pass for no reason.
Skip Instagram's filters on a photo you've already graded. They re-render the image and you lose the edit you made on a colour-managed screen.
And post the file you exported, not a screenshot of it. Obvious, but it happens.
What doesn't help
Things that get repeated constantly and don't survive contact with the mechanism:
Uploading at 4K or full resolution "so Instagram has more to work with." Backwards. More pixels means Instagram runs its own downscale, which is the step you're trying to avoid. This is the single most common piece of bad advice in the niche, and it's the subject of its own article.
Posting at specific times of day for better compression. Compression is deterministic. The clock has nothing to do with it.
Reposting the same photo repeatedly until it "sticks." Each upload is compressed identically. You're just posting the same thing three times.
Switching to a "high quality" third-party posting app. Nothing gets to bypass Instagram's encoder. What those apps can do is the resize for you, which you can do yourself.
Frequently asked questions
What size should I upload to Instagram for the best quality?
1080 pixels wide, with height set by your aspect ratio — 1080 × 1350 for 4:5 portrait, 1080 × 1440 for 3:4, or 1080 × 1080 for square. Instagram publishes feed images at 1080px wide, so uploading at exactly that width means the platform recompresses your file without resizing it first. That's one lossy step instead of two.
Does Instagram reduce photo quality?
Yes, on every upload. Instagram recompresses all images to roughly JPEG quality 70–75. You can't disable it. What you can control is whether Instagram also has to downscale your file first, which is where most visible quality loss actually comes from.
Why does my photo look sharp on my phone but blurry on Instagram?
Almost always because you uploaded a file much wider than 1080px. Instagram downscaled it with a fast generic resampler and no sharpening pass, then compressed the softened result. Resize to 1080px wide yourself before uploading and the difference is usually obvious.
Is JPEG or PNG better for Instagram?
JPEG for photographs. Instagram converts everything to JPEG regardless, so a PNG upload just costs bandwidth. PNG is only worth it for graphics with flat colour areas and hard text edges, and even then the benefit is small.
Should I sharpen before or after resizing?
After. Sharpening before you resize means the resampler scatters the edge detail you created and scales up any halos, which Instagram's encoder then misreads as detail worth keeping. Resize to final dimensions first, then apply light sharpening.
Does the "Upload at highest quality" setting actually work?
It reduces compression aggressiveness and it's free to enable, so turn it on. But the documented effect is clearest on video, and it won't fix a photo that was the wrong size going in. Treat it as a small bonus rather than the fix.
Summary
Instagram's compression is fixed. The number of lossy steps before it is up to you.
Export at 1080 pixels wide, in sRGB, as a JPEG at 85–95%, sharpened after the resize rather than before. Turn on high quality uploads once and forget about it. Get the file onto your phone without a messaging app re-encoding it on the way.
Do that and Instagram recompresses your photo once, gently. Skip the resize and it downscales then recompresses, and no amount of sharpening afterwards gets that detail back.
AspectFit handles the resize and the aspect-ratio padding in your browser — nothing gets uploaded to a server, and the Instagram-optimised export targets 1080px wide at whichever ratio you choose.